Assembly
- Pull the chair headrest as far out as possible.
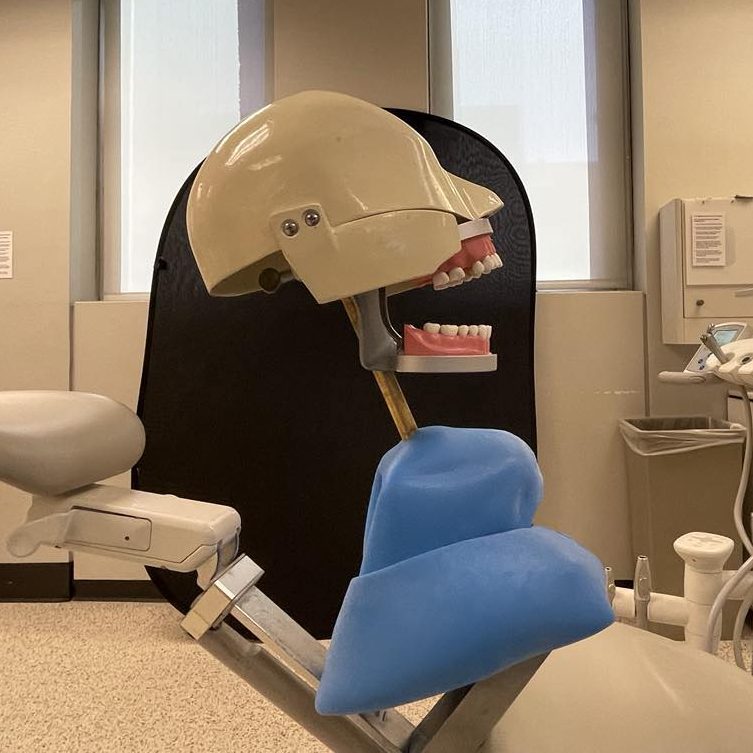
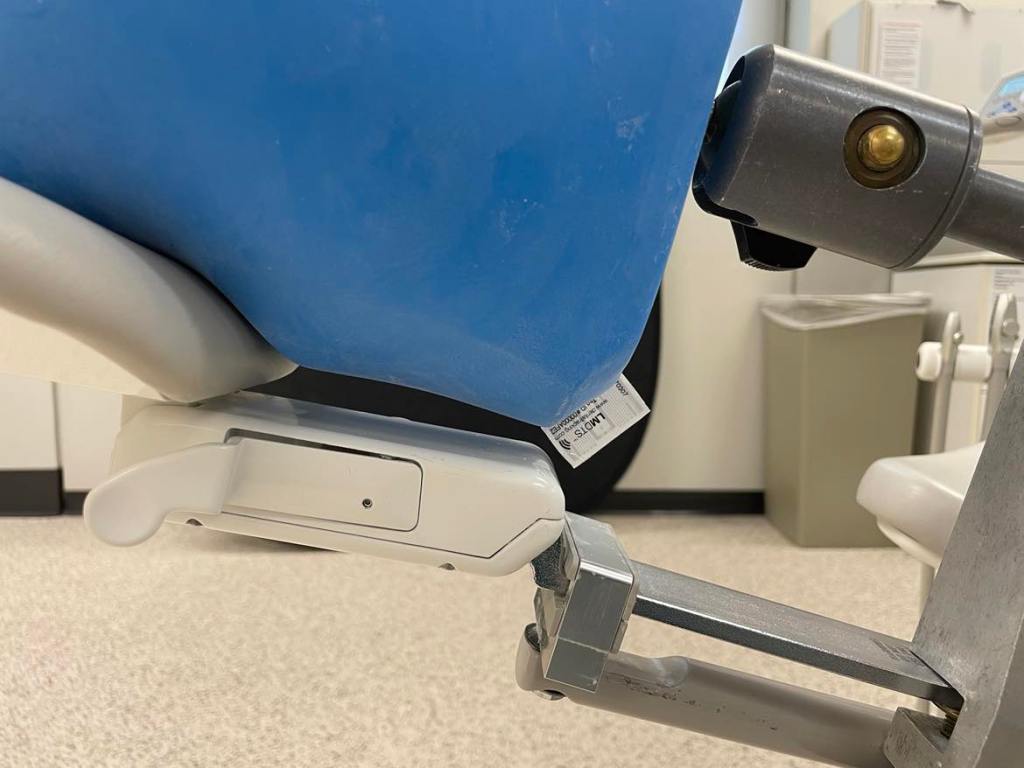
- Attach the manikin post to the headrest
- Slide the shroud down the pole
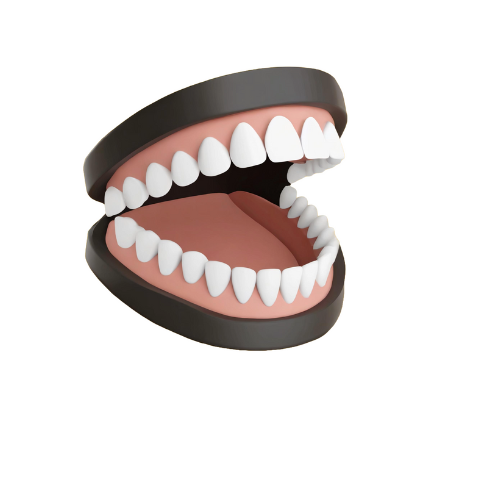
- Side on the typodont and cranium, and position correctly
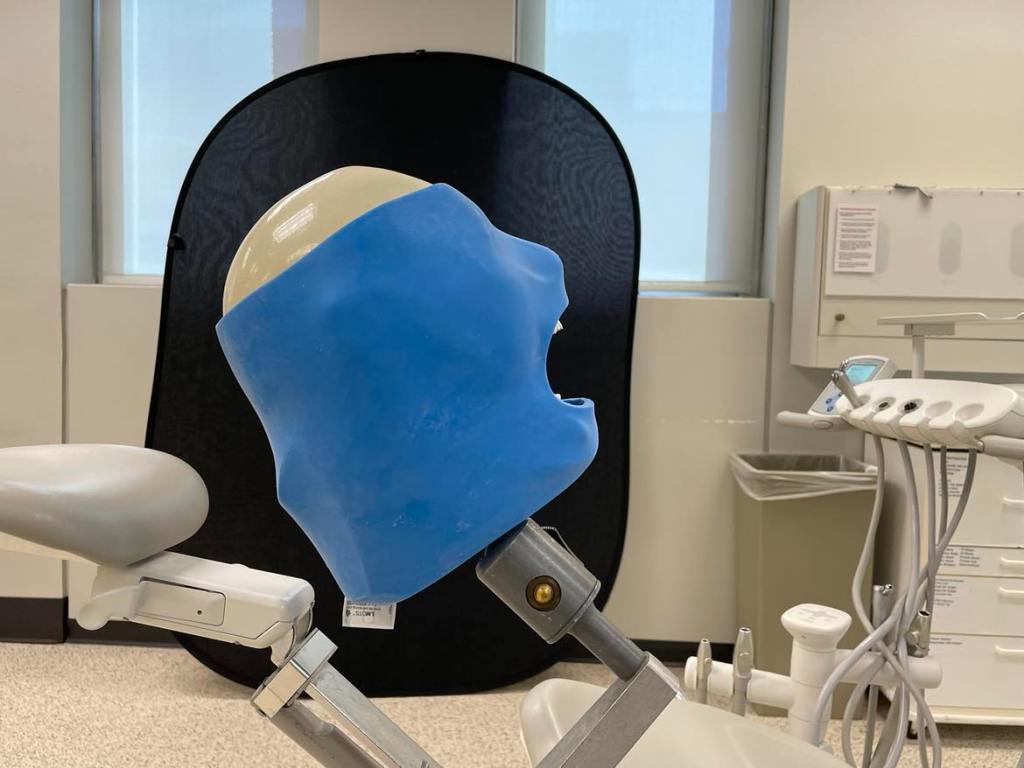
5. Pull the shroud up and over the typodont and cranium, until the nose of the shroud fits over the nose of the cranium.
6. Tug down on the base of the shroud to ensure a close fit between the back of the cranium and the shroud.
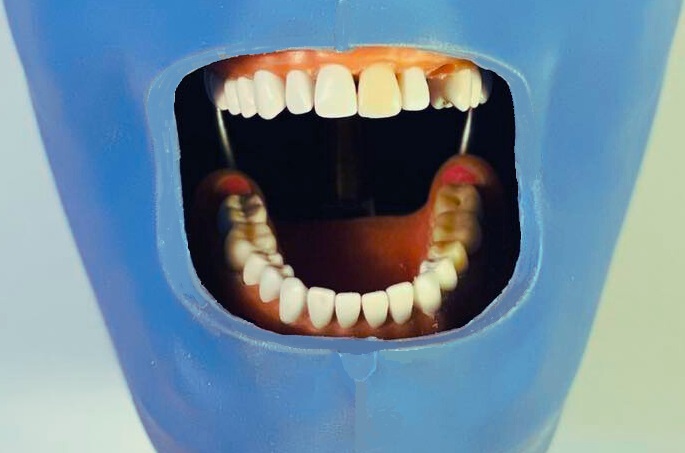
7. Check the position of the shroud over the typodont to ensure proposer placement.
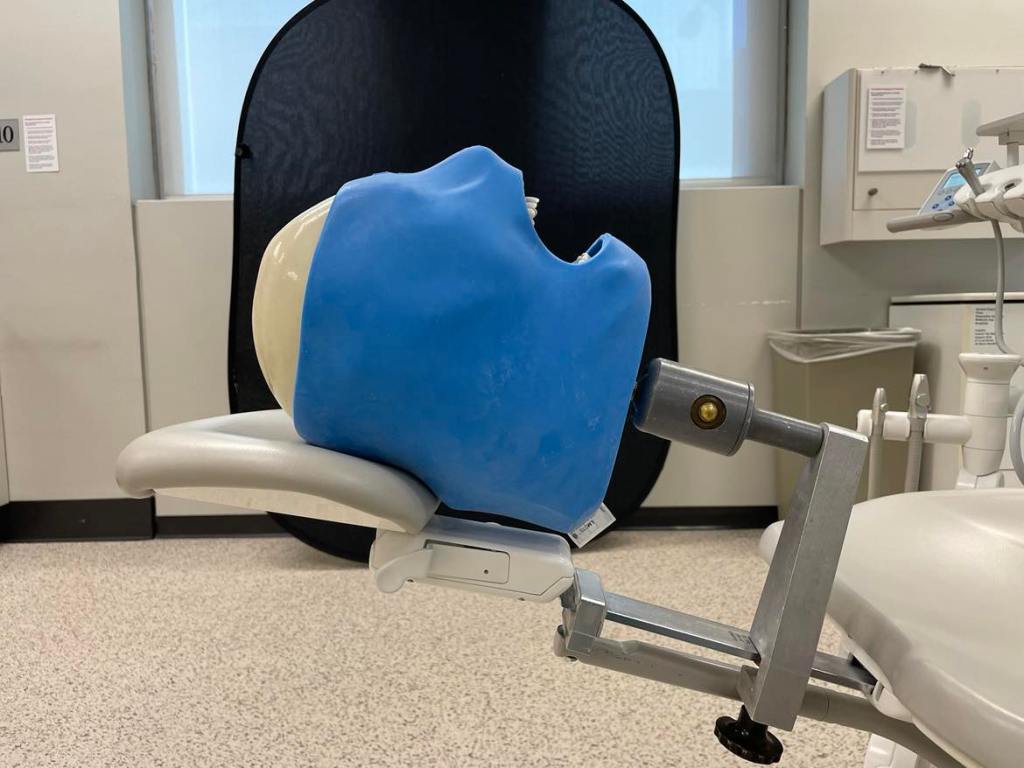
8. Lay the head back against the headrest
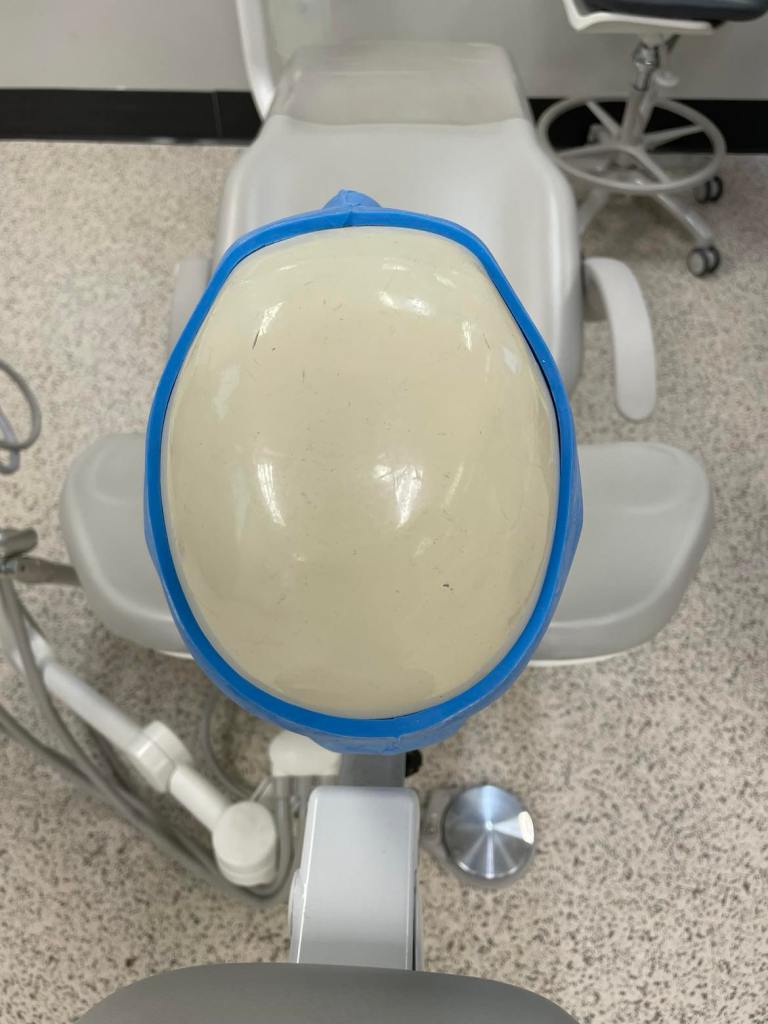
9. Check the sides of the shroud to make sure there is minimal to no collapse of the silicone against the headrest.
10. If there is, adjust the angle so that the back of the shroud maintains its proper spacing to catch the water you will use in the simulation.
Clean up
- Suction all leftover water out of the shroud
- Pull the shroud down the post, over the cranium and typodont
- Remove the cranium and typodont from the post
- Pull the shroud off the post
- Dab up any left over water
- Store the shroud in a safe location out of the sunlight
- To clean the shroud, use water and a gentle dish soap, such as Dawn.
- To guard best against dirt and dust, dust the clean shroud with cornstarch.
Warning! Never use harsh cleaners, chemicals, or abrasive material to clean the shroud. This can lead to the degradation or scratching of the silicone.
Product Care
- If product is dirty, clean with water and a gentle dish soap
- If product starts attracting dust or gets sticky, dust with cornstarch
- Storing out of the sunlight will help prevent the silicone from breaking down, and will allow for a longer shelf life
- If product rips, contact Jawdropper dental for repair or replacement request
- If tagging the product for inventory, do not punch the tag into the reservoir area. This will cause the shroud to leak during use with water.
Proudly powered by WordPress
